ArcXP Integration
This guide walks you through installing and using the Viafoura Power Up for Arc XP
Before You Begin
Make sure the following requirements are met:
- You have access to your Arc XP Themes repository.
- You're familiar with modifying Arc XP features and deploying updates to Arc XP environments.
- You have a site setup on Viafoura.
Installation
In the ArcXP Plugin Github Repository provided by Viafoura, you will find three folders: one for the content sources, one for the Power Up, and one for the ejection of the Article Body Chain.
- Copy the content sources to your ArcXP content sources folder
- Copy the ViafouraCommentsPowerUp and ViafouraEngagementStarterPowerUp folders to your project's components/features folder
- Follow the instructions regarding for whether you ejected the Article Body Chain:
- If you don't have the Article Body Chain ejected, copy the article-body folder and place it inside your components/chains folder. You must delete the article-body default block from the blocks.json for Arc to use this custom one.
- If you already ejected the Article Body Chain, copy only the components you want to use:
EngagementStarterComponent.jsx, CommentsComponent.jsxinside thearticle-body/_childrenand paste it in yourdefault.jsx. You must add this component as a custom embed in you article bodydefault.jsxlike this. -
case 'custom_embed':
      switch (item.subtype) {
        case 'Viafoura Comments':
          return (
            <CommentsComponent key={`${type}_${index}_${key}`} embed={item.embed} />
          );
        case 'Viafoura Engagement Starter':
          return (
            <EngagementStarterComponent key={`${type}_${index}_${key}`} embed={item.embed} />
          );
        default:
          return null;
      }
ArcXP Dashboard Setup
You must make the following changes for each environment. We recommend doing them at least on Sandbox first, testing, and then performing the same steps on Production.
After the bundle is deployed and live, you must setup the Power Up before using it.
-
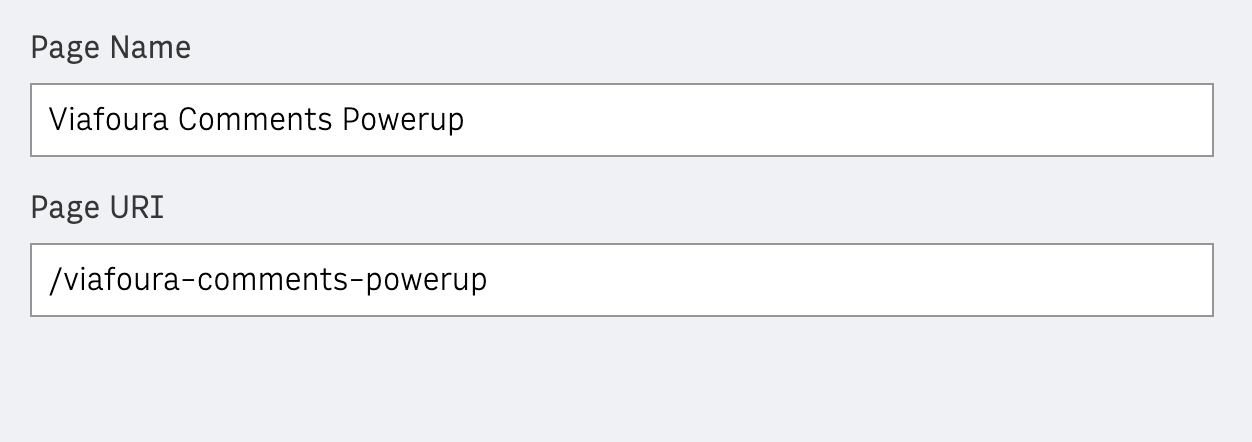
First, create a Page in PageBuilder to host the Powerup. To do so, navigate to PageBuilder, then Pages, and create a new page. Use the name you want and set a URL you like. Copy this URL to use later.
-
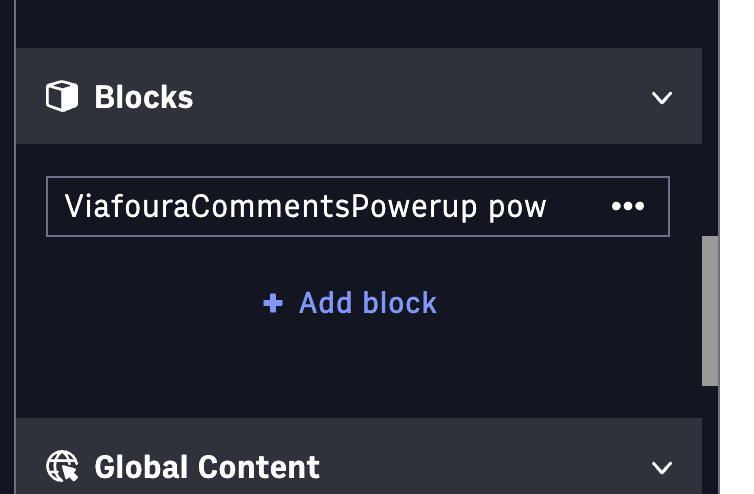
Inside the page, insert the block called “ViafouraCommentsPowerUp powerup”, Save and Publish, and then exit.
- Next, add the new Power Up. Go to Composer, and click Settings. Click Add custom embed, fill "Display Type" and "Custom embed name" with " Viafoura Comments".
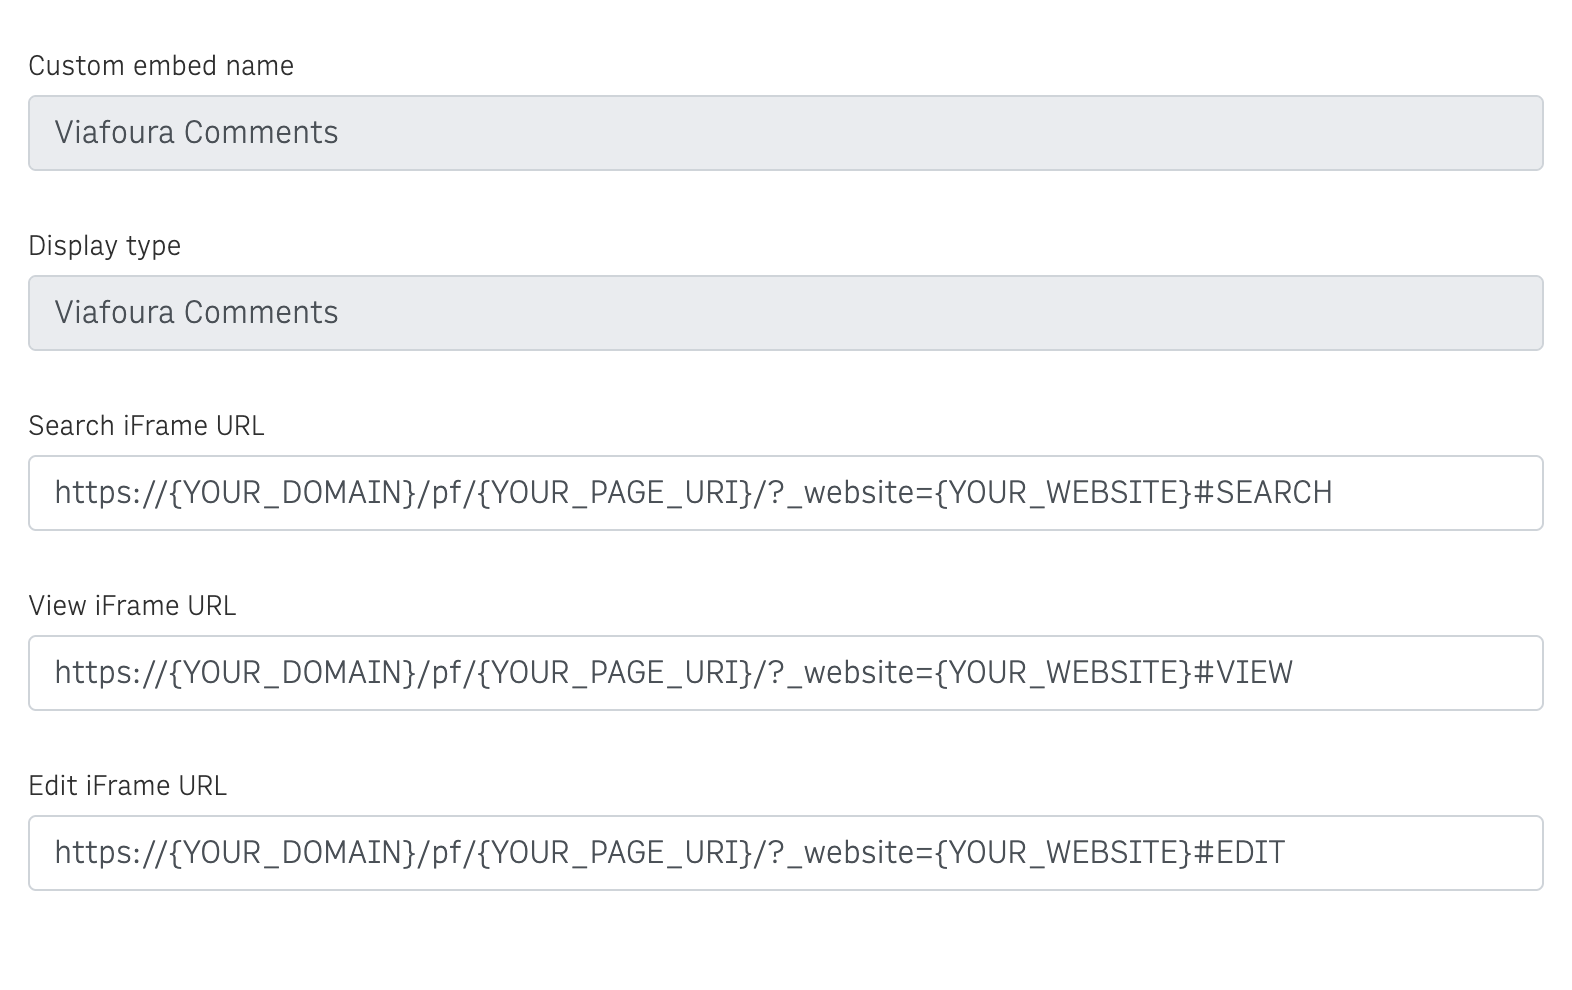
Make sure you’ve configured all three URLs with their appropriate endings: #SEARCH, #EDIT, and #VIEW. Then, select the icon you’d like to represent the Power-Up. Once you're done, click Update to close the modal, and remember to click Save in the top-right corner to apply your changes.
Usage
Now you can go to the Composer and use the Power Up you just added.
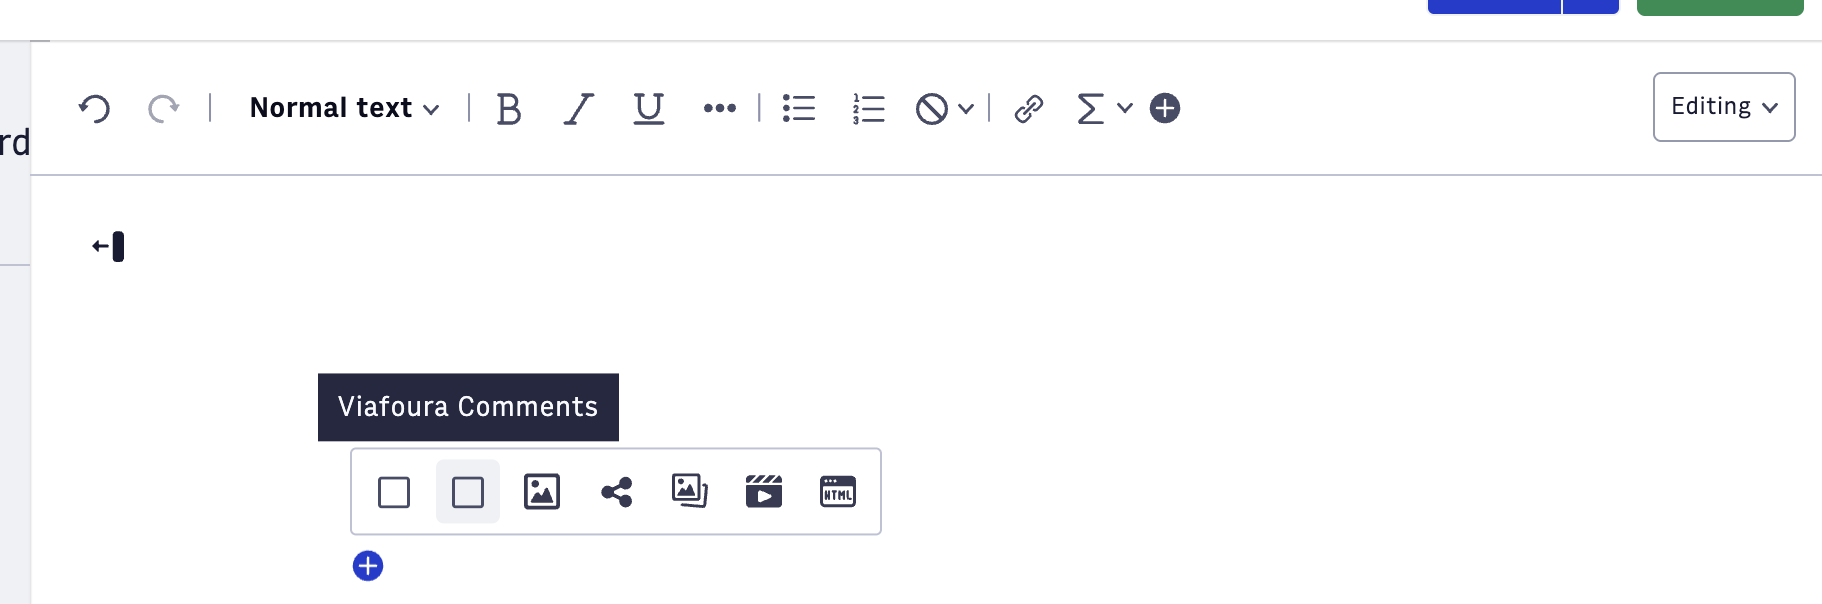
The same steps above can be done to configure the engagement starter usage.
Updated 10 months ago