StorifyMe
This guide walks you through enabling and setting up the Viafoura Integration in StorifyMe. This allows Viafoura conversations to appear within SotrifyMe stories.
Before You Begin
Make sure the following requirements are met:
- You have Viafoura set up on your site and integrated with your auth provider.
- You have an account with StorifyMe and are able to add StorifyMe Stories to your pages.
Instructions
Domain Setup
In order for comments associated to StorifyMe stories to be associated to your site, you need to configure StorifyMe to use a custom domain.
Step 1 - Go to the StorifyMe console --> Settings --> Custom domain and configure the subdomain you wish to use, for example:
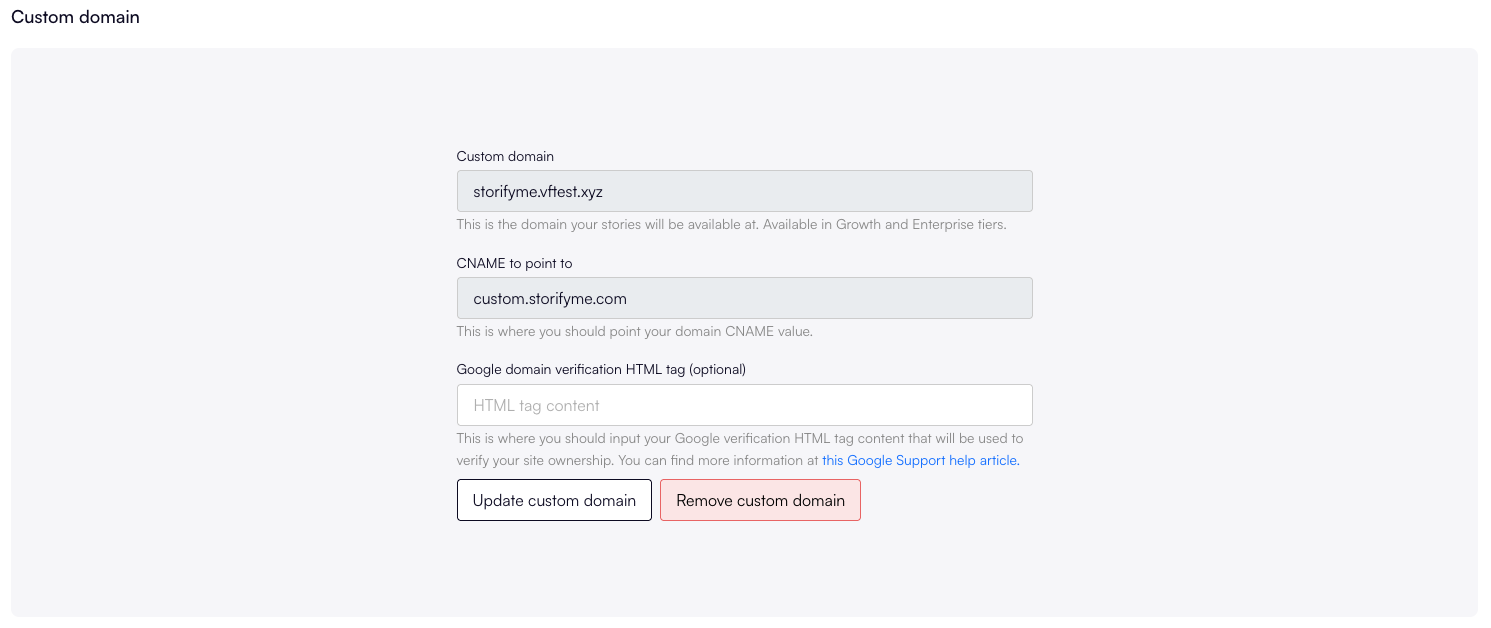
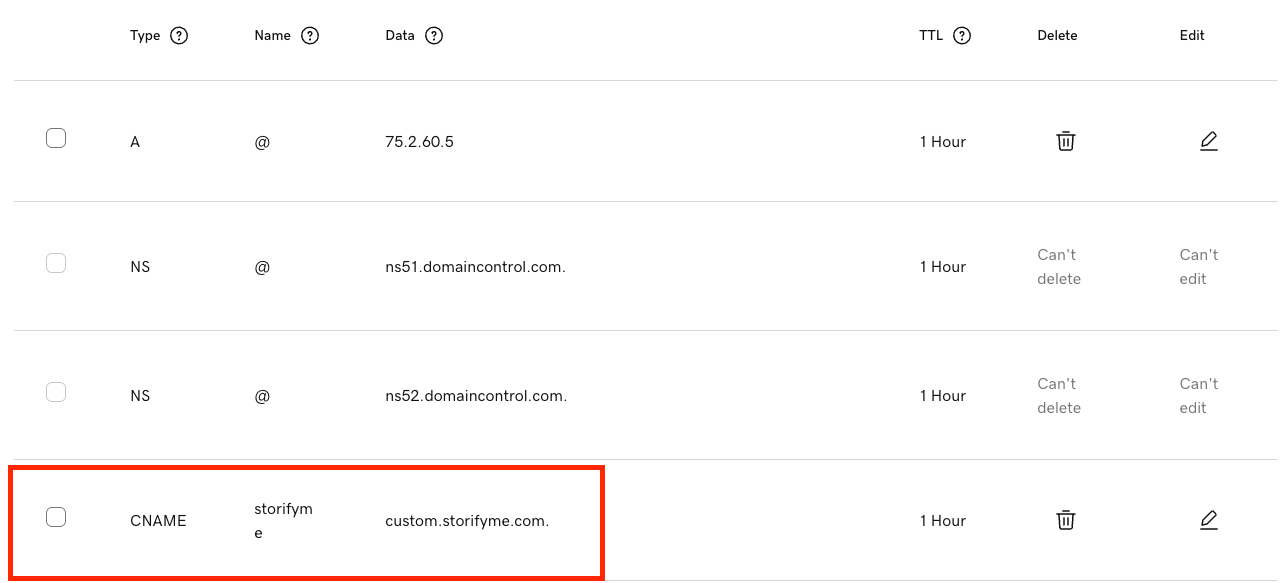
Step 2 - When you add the domain in StorifyMe you will be shown a CNAME entry to add to your domains DNS settings, add that entry to your DNS.
Example:
NOTE: It can take up to 48 hours for DNS changes to propagate. You can check propagation status by going to https://www.whatsmydns.net/ then enter your domain and select CNAME from the dropdown menu, then click search.
Enable Viafoura Integration
Step 3 - Once the custom domain has been setup you can enable the Viafoura Integration from the StorifyMe console under Integrations --> Viafoura --> Activate
NOTE: If using Viafoura Chat as the default view it must be enabled by your Viafoura support representative for the domain you are adding stories to, please reach out to them to enable Live Chat. If using the conversations option no additional step is required.
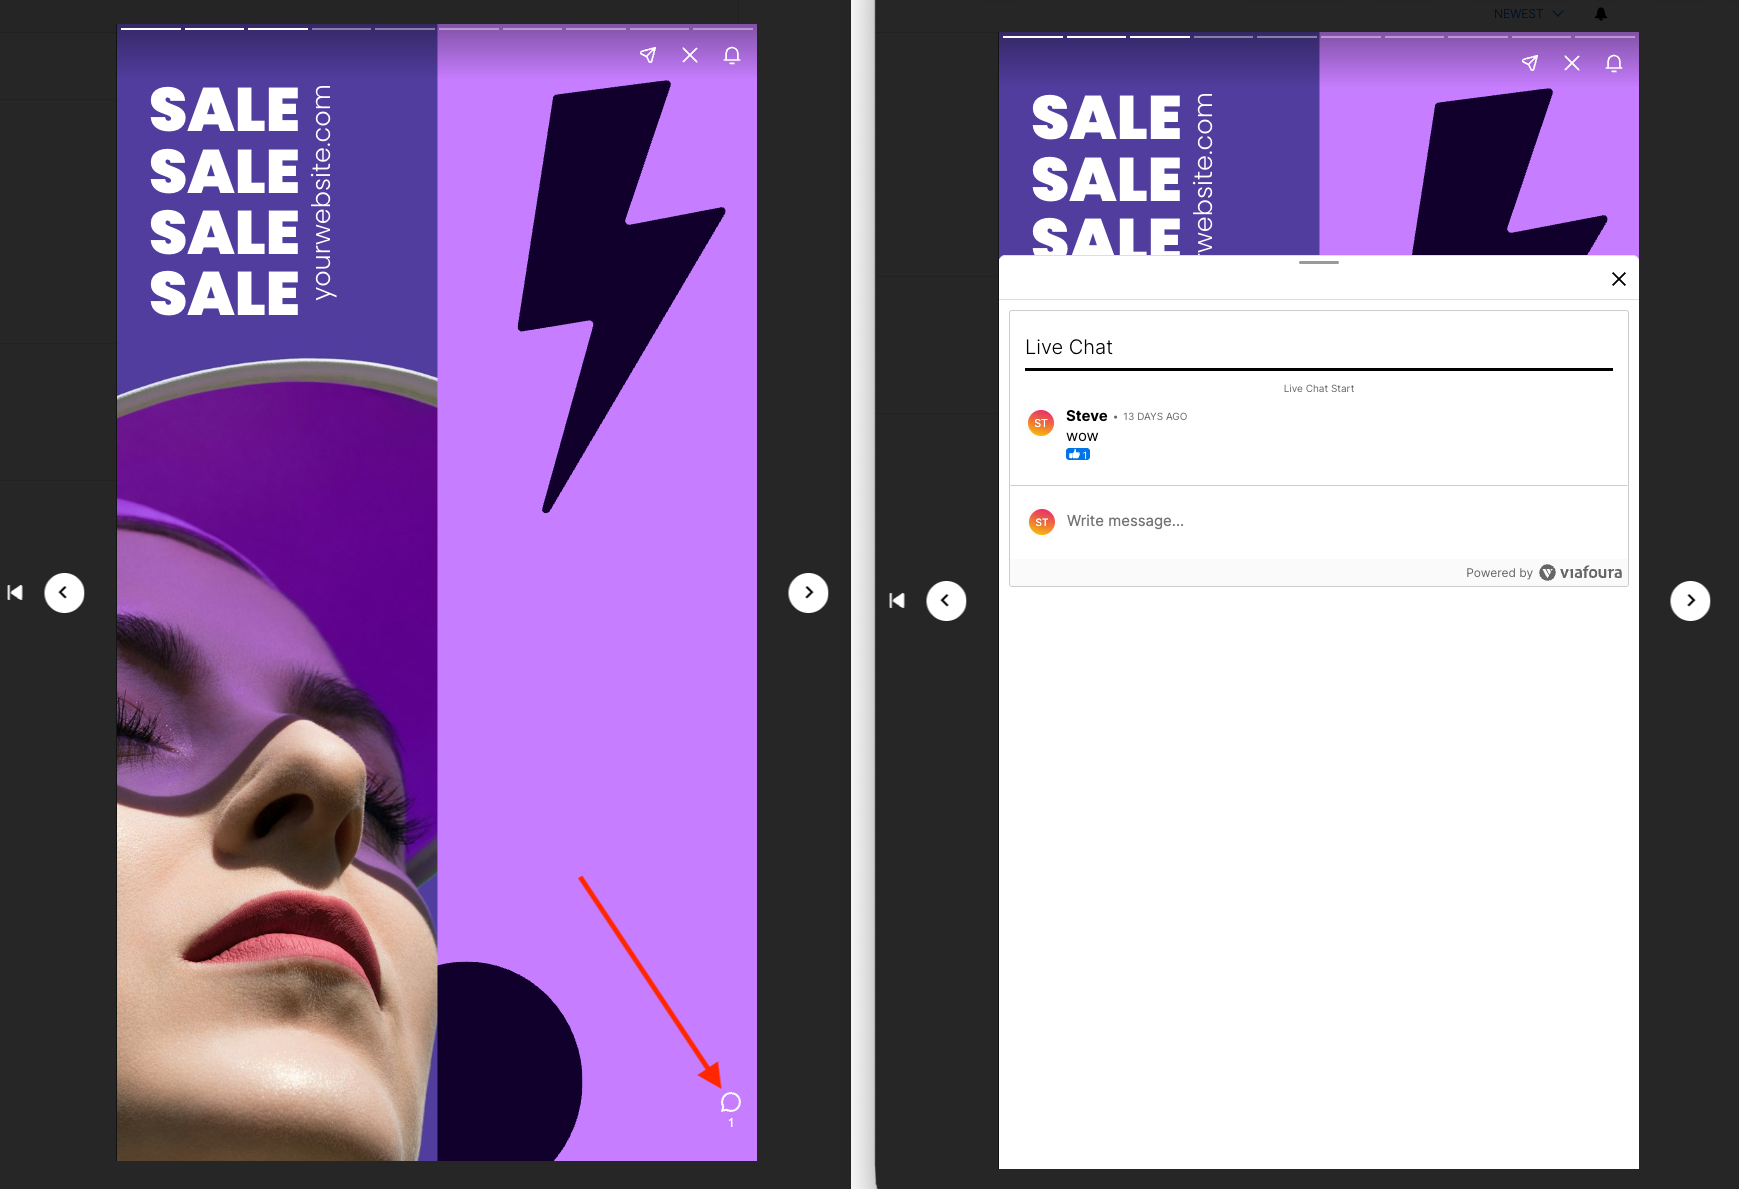
Done! Now when you open stories on your site you will see a comment icon in the bottom right corner of the story, so users can comment.
Options
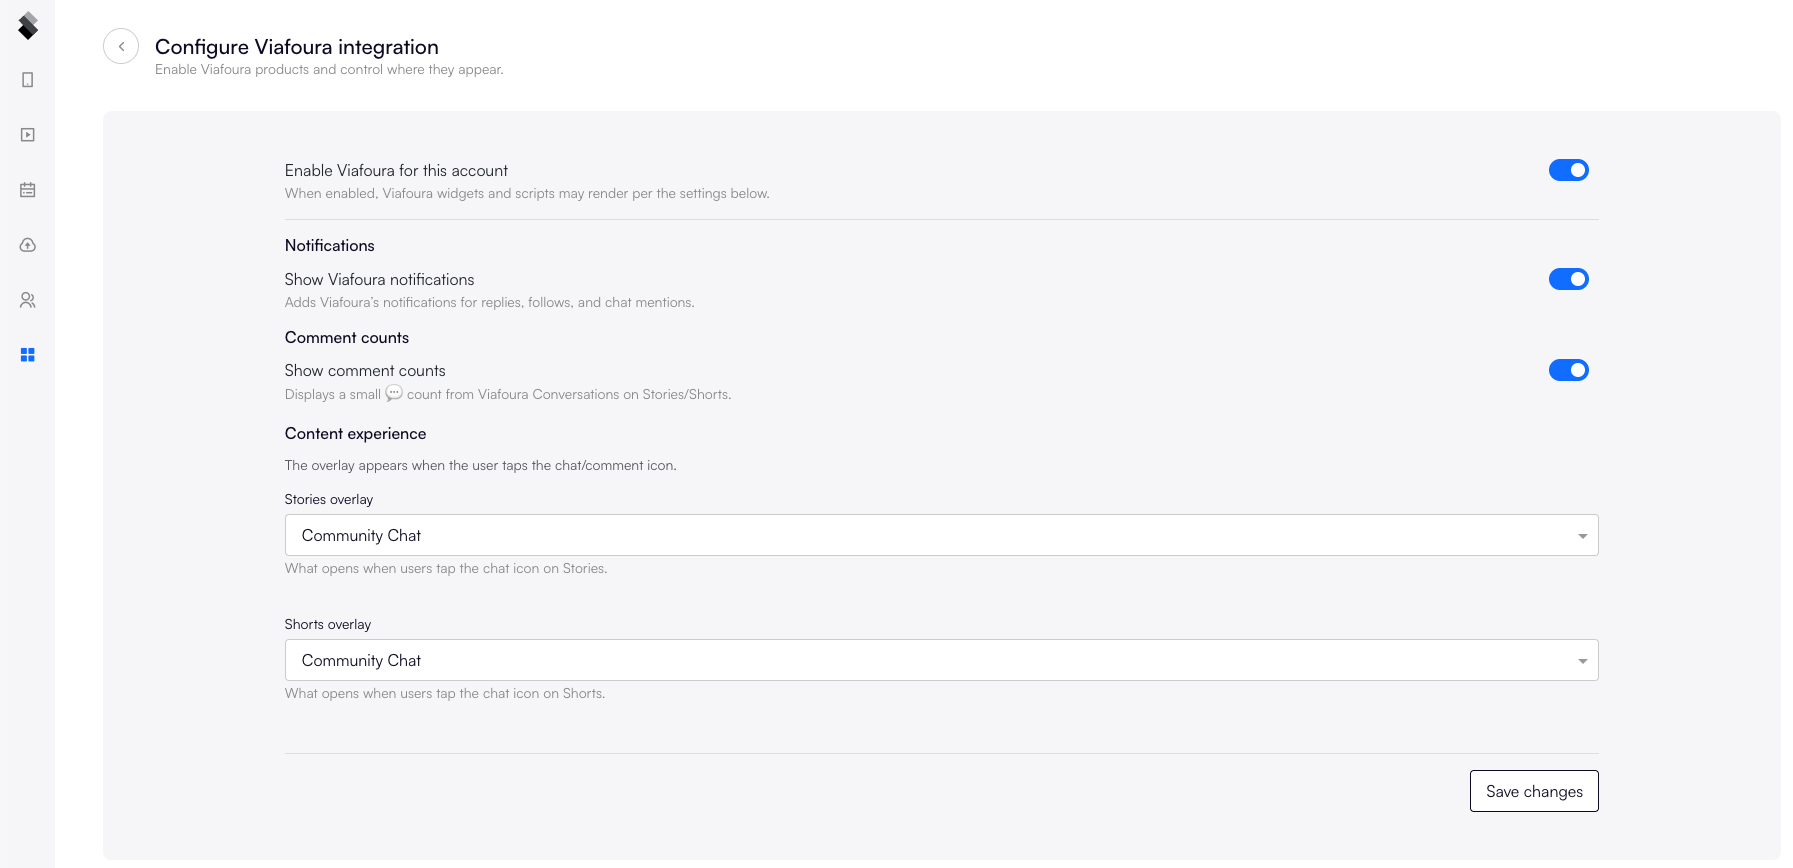
You can then configure which Viafoura components you wish to appear by clicking the Configure button in StorifyMe on the Viafoura integration.
You can change the style of Viafoura components within stories from the StorifyMe console under Settings --> Customization --> Code & Style
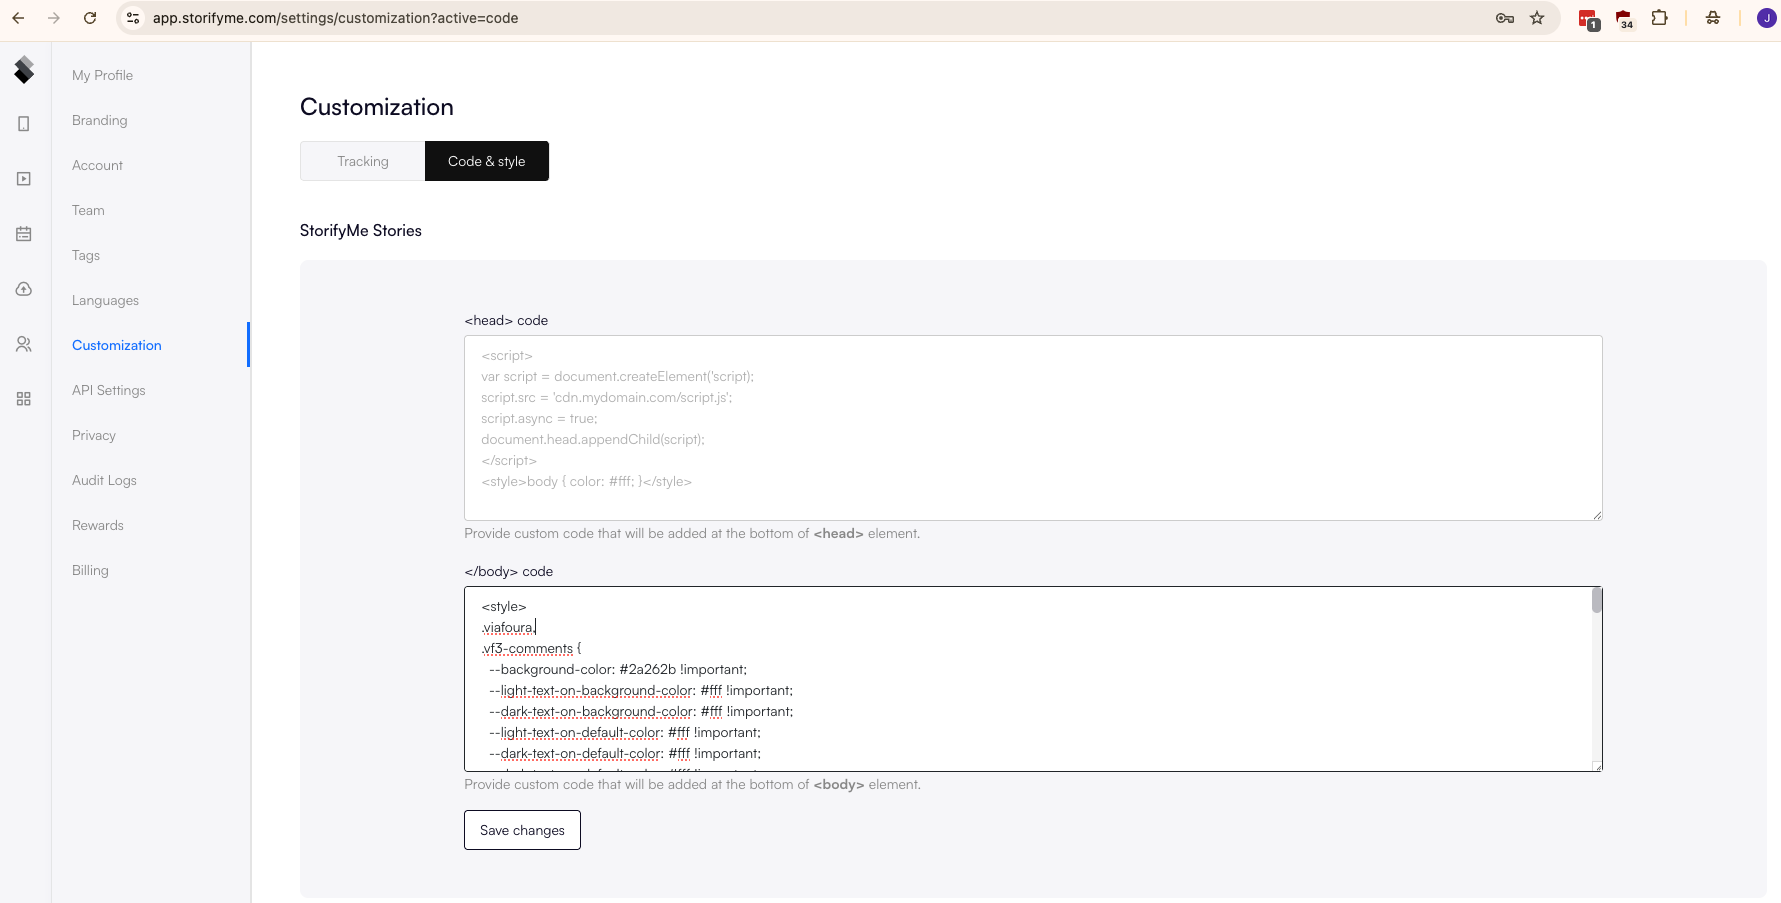
Note: It will take at least 5 minutes for your style changes to be reflected due to caching in StorifyMe.
Updated 9 months ago